How to implement the Azure Forced Tunneling via S2S VPN
·557 words·3 mins·100 views·5 likes·
add-azrouteconfig Azure PowerShell Connect-AzAccount Get-AzLocalNetworkGateway Get-AzSubscription Get-AzVirtualNetwork Get-AzVirtualNetworkGateway Microsoft Microsoft Azure Networking New-AzRouteTable Select-AzSubscription Set-AzRouteTable Set-AzVirtualNetwork Set-AzVirtualNetworkGatewayDefaultSite Set-AzVirtualNetworkSubnetConfig Virtual networks
Hi, As you know, by default, resources deployed to an Azure virtual network that need access to the Internet will use the system-defined default routes to use the Azure backbone. Forced tunneling allows you to redirect all Internet-bound traffic to your on-premise location through a site-to-site VPN tunnel, thus allowing you to manage, inspect, and audit outgoing traffic on your Azure network. Requirements:
This tutorial assumes that you already have a Microsoft Azure account configured.
You already have a VPN Site-to-Site created and properly configured. If you want to know how to create it, see this link.
The simplest way to get started is to sign in interactively at the command line.
Connect-AzAccount
This cmdlet will bring up a dialog box prompting you for your email address and password associated with your Azure account. If you have more than one subscription associated with your mail account, you can choose the default subscription. To perform this task, we will use the following commands:
In this section, we implement Azure resources. Once the routes table has been created, we can assign it to the desired subnet to finally update the configuration of our Azure Gateway.
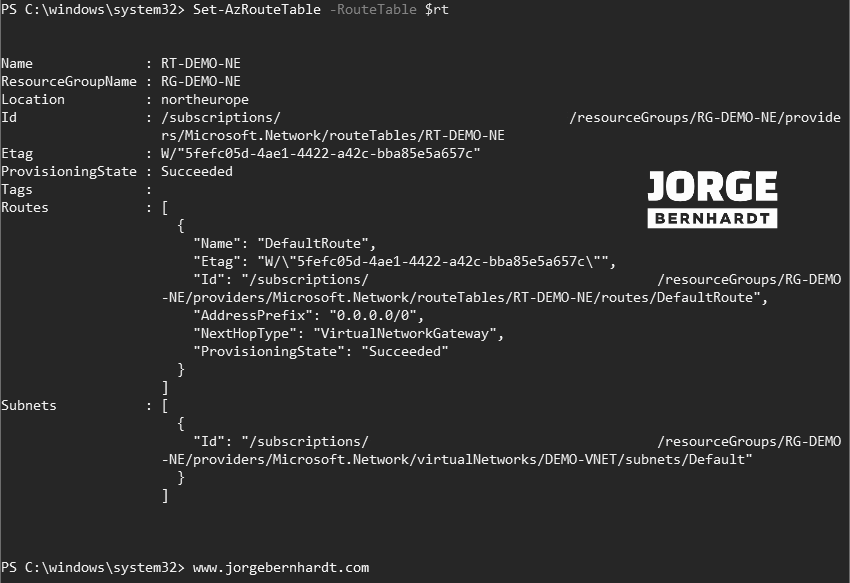
The next step is to add a route to the route table. To perform this task, you should use the Add-AzRouteConfig cmdlet. The following command adds a route named “DefaultRoute” to the route table stored in $rt variable. This route forwards Internet-bound traffic to the Virtual Network Gateway.
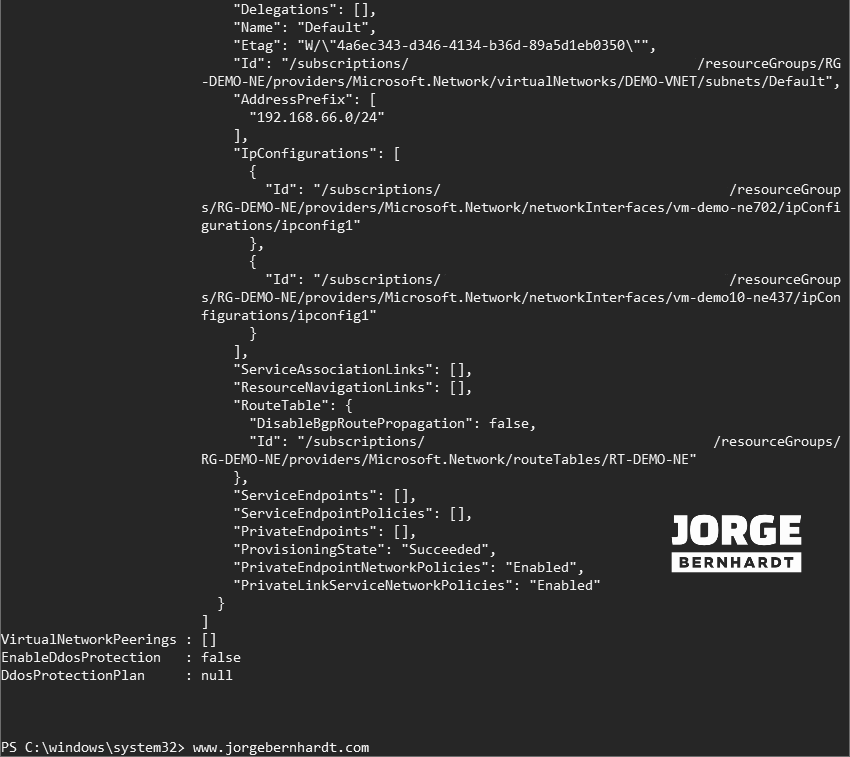
In this step, the subnet is configured with the route table created in the previous step. To associate the route table to the desired subnet. First, use the Set-AzVirtualNetworkSubnetConfig cmdlet to set the new configuration and then the Set-AzVirtualNetwork cmdlet to apply the changes.