Getting Started With Azure Sphere - Part 1
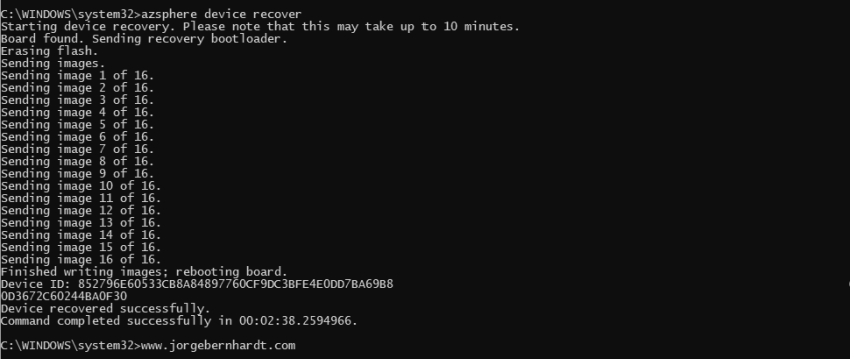
The people who follow @ me on Twitter know that I received an Azure sphere about a month ago. Due to certification exams and other issues, I have not been able to play with this board before. This post is part of a series in which I will show how to set up and use your Azure Sphere. Today I will show you how to update the Azure Sphere OS.
Prerequisites: #
- Visual Studio 2017 Enterprise, Professional, or Community
- The Azure Sphere SDK Preview for Visual Studio.
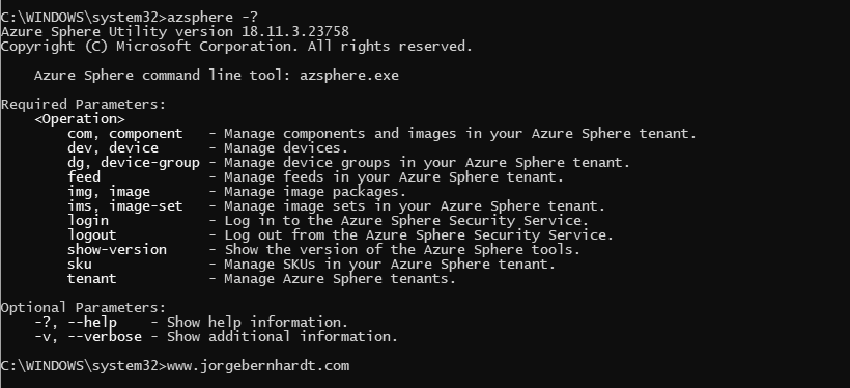
Once installed, the software prerequisites you must connect the board to a USB port on your computer. Based on my experience, use the ports of your computer, do not use the ports of a docking station or USB hub. To start the Azure Sphere OS update process, Open an Azure Sphere Developer command prompt. It appears in the Start menu under the Azure Sphere folder. To see all available operations, you should use the command azsphere with the following syntax:
azsphere -?

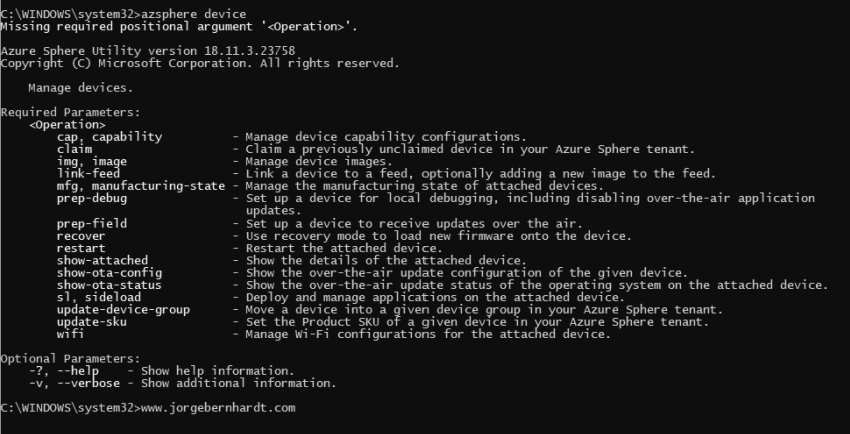
azsphere device -?

azsphere device recover

If you want to know more about Azure Sphere, check out this link.
