Getting Started With Azure Sphere - Part 3
This post is part of a series in which I will show how to set up and use your Azure Sphere. In my previous article, I showed you how to set up an Azure account to use with Azure Sphere. Today I will show you the following topics:
- Set up Wi-Fi on your Azure Sphere device
This tutorial assumes that you already have a Microsoft Azure account set up. #
Prerequisites: #
- Visual Studio 2017 Enterprise, Professional, or Community
- The Azure Sphere SDK Preview for Visual Studio.
- A Microsoft work or school account associated with Azure Active Directory (AAD)
We are ready; connect your device to your PC, and let’s go.
How to set up Wi-Fi on your Azure Sphere device #
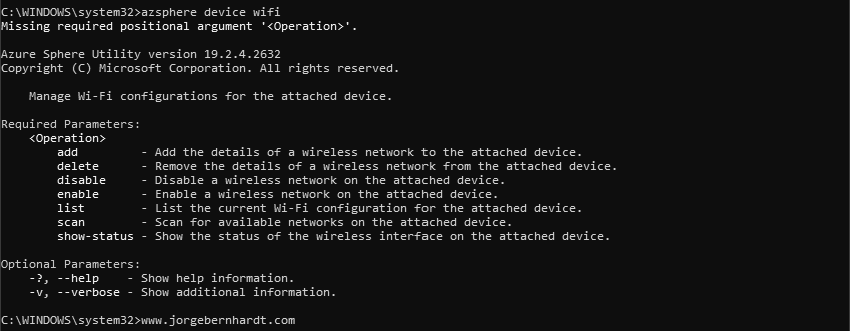
Open an Azure Sphere Developer Command prompt and enter the following command:
azsphere device wifi

azsphere device wifi show-status

azsphere device wifi add --ssid <SSID> --key <NetworkKey>


azsphere device wifi delete --id <Int>

azsphere device wifi list

azsphere device wifi scan
With this post, the series “Getting Started With Azure Sphere” ends. The following posts will be on topics related to tests, add-ons, or modules and the use cases of the Azure Sphere device.
If you want to know more about Azure Sphere, check out this link.
