How to set primary and secondary DNS server addresses with PowerShell
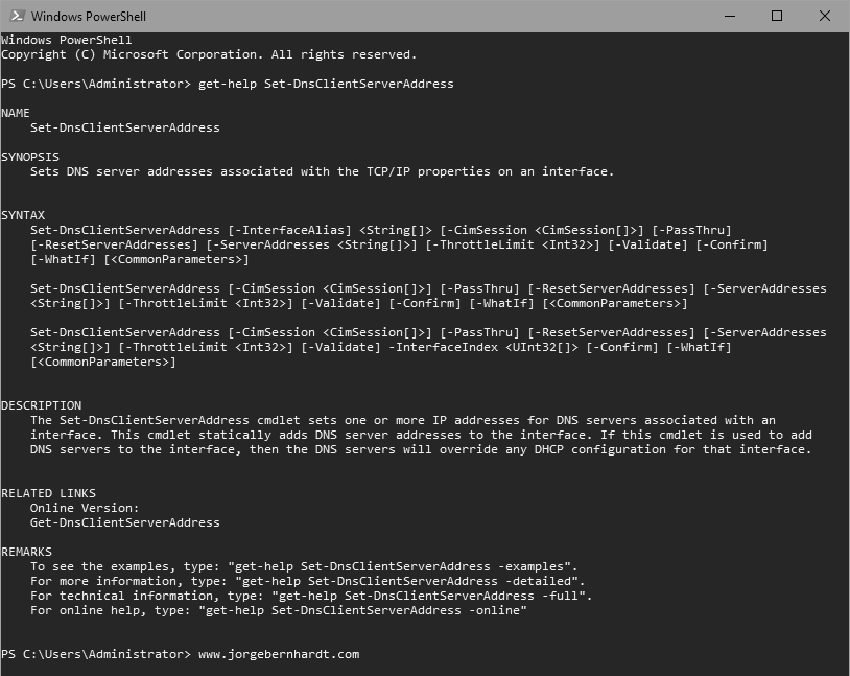
In this post, I want to show how to configure your computer’s primary and secondary DNS servers using PowerShell. In this case, we will use the Set-DnsClientServerAddress cmdlet.

Get-NetAdapter `
    | Select-Object InterfaceAlias , InterfaceIndex

Get-DnsClientServerAddress `
    -InterfaceIndex 9

Set-DnsClientServerAddress `
    -InterfaceIndex 9 `
    -ServerAddresses ("8.8.8.8","1.1.1.1")
The Set-DnsClientServerAddress sets the DNS server addresses on an interface using a specified index value.

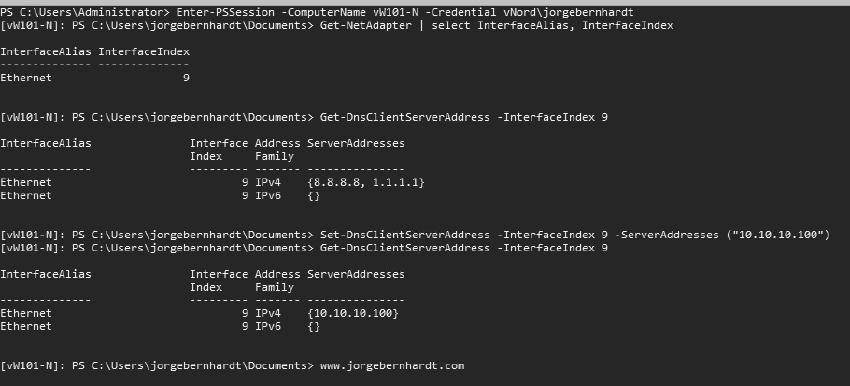
Enter-PSSession `
    -ComputerName ComputerName `
    -Credential domainuser
The commands that you type run on the remote computer during the session.
Get-NetAdapter `
    | Select-Object InterfaceAlias , InterfaceIndex

Get-DnsClientServerAddress `
    -InterfaceIndex 9

set-DnsClientServerAddress `
    -InterfaceIndex 9 `
    -ServerAddresses ("10.10.10.100")

Thanks for reading my post. I hope you find it useful.
If you want to know more about the Set-DnsClientServerAddress cmdlet, check out this link.
