How to use Hyper-V Resource Metering
If you want to track the use of a virtual machine in your Hyper-v environment. This blog post may interest you. Resource metering uses PowerShell cmdlets to track various performance metrics for individuals VMs, such as:
- CPU utilization
- Average/Minimum/Maximum memory usage
- Inbound/Outbound network traffic
- Disk space utilization
To use resource metering, you must first enable it for the specific virtual machine that you want to monitor. You can enable it by using the Enable-VMResourceMetering cmdlet with the following syntax:
Enable-VMResourceMetering `
    -VMName <String[]>
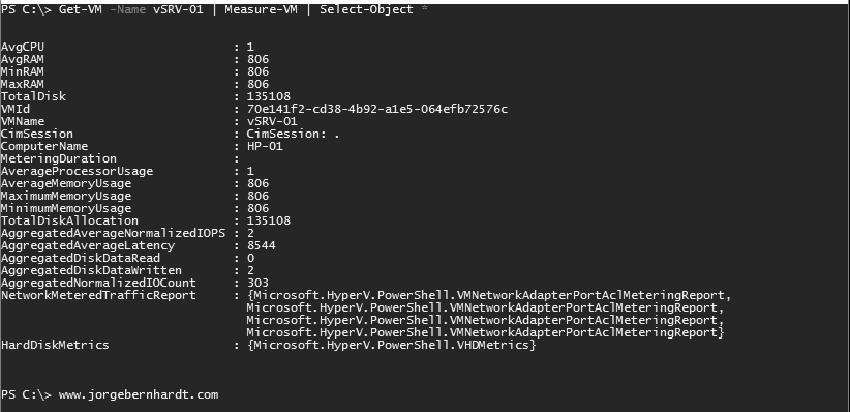
After you enable it, you can display a statistical report at any time by using the **Measure-VM **cmdlet with the following syntax:
Measure-VM `
    -Name <String[]>

 Get-VM `
    -Name <String> `
    | Measure-VM `
    | Select-Object *

Set-VMHost `
    -ResourceMeteringSaveInterval <TimeSpan>

Get-VM `
    -Name <String> `
    | Reset-VMResourceMetering
Finally, but not least, to disable resource metering, you should use the** Disable-VMResourceMetering** cmdlet with the following syntax:
Get-VM `
    -Name <String> `
    | Disable-VMResourceMetering
Thanks for reading my post. I hope you find it useful.
If you want to know more about Hyper-V Resource Metering, check out this link.
