How to enable Azure Resource Graph in PowerShell and Azure CLI
The general availability of the Azure Resource Graph service was announced a few days ago. This service allows you to use queries to explore all your resources in Azure and manage your inventory in the Microsoft cloud more efficiently. In this mini-post, I want to show you how to enable Azure PowerShell and Azure CLI to query Azure Resource Graph.
Azure PowerShell Workaround #
If you want to know how to install the PowerShell Azure module on your machine, check out this link. Requirements:
- Azure PowerShell 1.0.0 or higher.
- PowerShellGet 2.0.1 or higher. If it isn’t installed, check out this link
if you want to verify the installed version of the module PowerShellGet, use the following command:
Get-InstalledModule `
    -Name PowerShellGet `
    | ft
Add the Resource Graph module #
To install the module, run the following PowerShell command as administrator.
Install-Module -Name Az.ResourceGraph

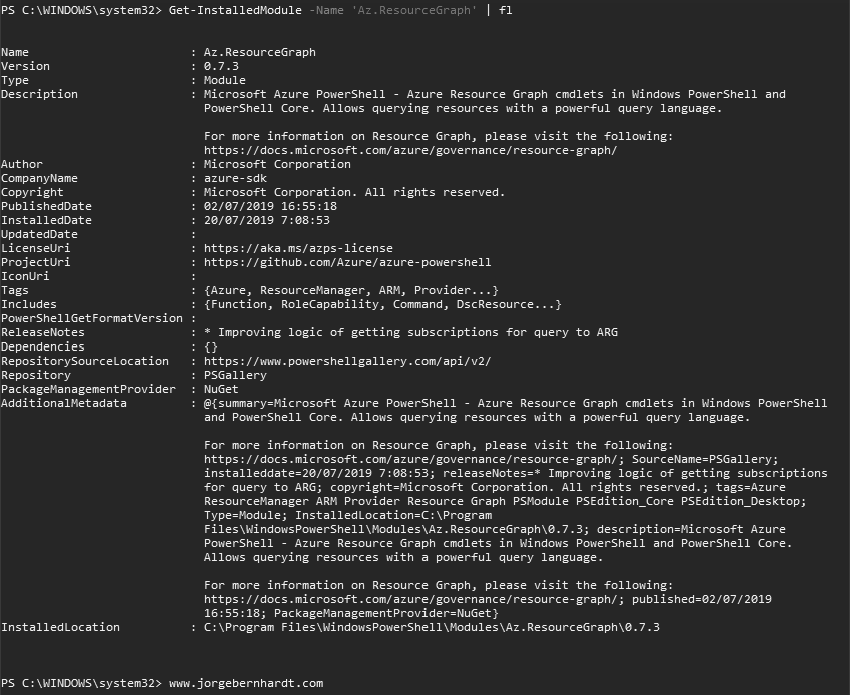
Get-InstalledModule `
    -Name 'Az.ResourceGraph' `
    | fl
Azure CLI Workaround #
You can use it in your browser with Azure Cloud Shell or install it on your machine. If you want to know how to install the Azure CLI, check out this link. Requirements:
- Azure CLI 2.0.45 or higher.
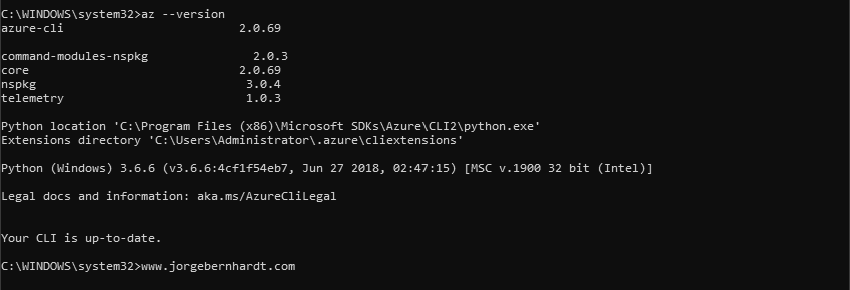
if you want to verify the installed version of Azure CLI, use the following command:
az --version
Add the Resource Graph extension #
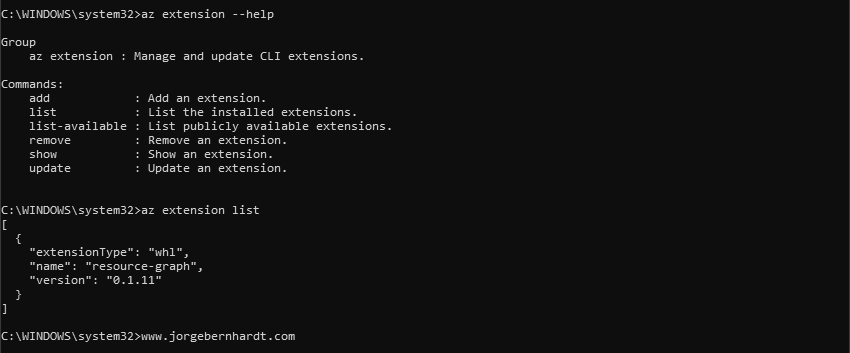
To add the extension to your Azure CLI environment, use the following command:
az extension add \
--name resource-graph

az extension list

Thanks for reading my post. I hope you find it useful.
If you want to know more about Azure Resource Graph, check out this link.


